Pebbledash has long been a staple of UK housing, offering durability and a simple method for creating unique textured exteriors. However, as design aesthetics change over time, many homeowners in London and beyond are opting to update the look of their homes and rid them of the traditional pebbledash finish. If you’re one of them, this article offers an essential guide on how to get rid of pebbledash.
What is Pebbledash?
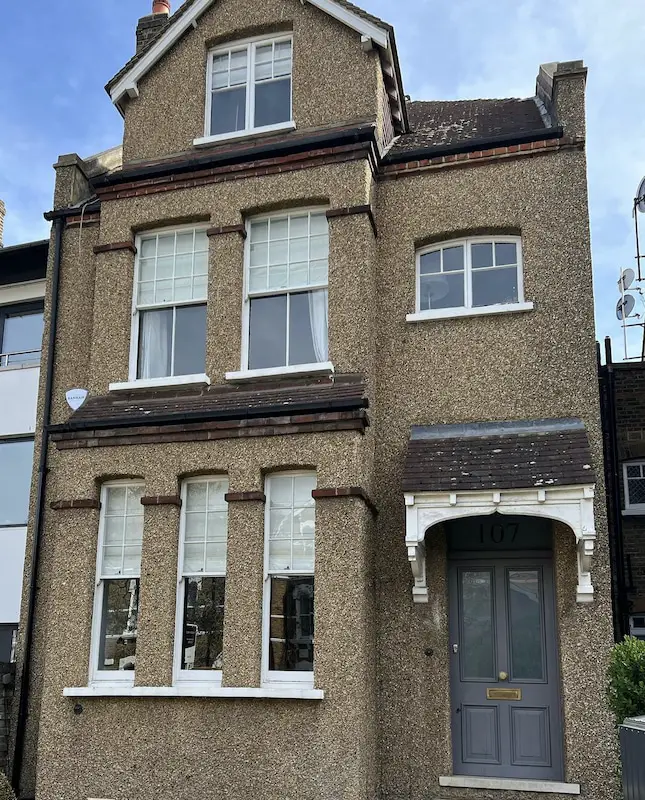
Before we dive into the removal process, it’s worth understanding what pebbledash is. Essentially, it’s a type of exterior wall covering where small stones, or ‘pebbles’, are dashed onto a layer of wet render. This technique was popular during the post-war era due to its durability and low cost. Today, while some still appreciate its unique, rustic charm, others consider it outdated and seek ways to modernise their home’s exterior.
Removing Pebbledash: Considerations and Process
Before beginning the pebbledash removal process, it’s essential to weigh a few key considerations:
- Structural Impact: Pebbledash often serves to protect the underlying brickwork. Removal can expose any existing defects, potentially leading to additional work.
- Cost: Professional pebbledash removal can be costly, especially considering potential underlying structural repair requirements. DIY is an option, but it’s time-consuming and requires safety precautions.
If you’ve evaluated these factors and are set on removing pebbledash, here’s a broad overview of the process:
- Safety First: Wear appropriate protective clothing, including safety glasses and gloves. Pebbledash removal can be a messy and potentially dangerous task if fragments fly.
- Start Chipping Away: Using a hammer and chisel, gently start chipping away at the pebbledash. Remember to do this gently to avoid causing unnecessary damage to the underlying brickwork.
- Check Underlying Wall Condition: Once a section of pebbledash is removed, check the condition of the wall underneath. If there are signs of damage, it’s recommended to call in a professional to assess the situation.
- Complete the Removal: Continue chipping away at the pebbledash until all has been removed. Be sure to regularly clear away the debris to keep the work area clean and safe.
- Repair and Re-render: Once the pebbledash has been removed, repair any defects in the underlying wall before applying a new layer of rendering or finish of your choice.
Hiring Professionals
Given the time-consuming nature and potential complications of pebbledash removal, many homeowners opt to hire professional help. Not only will professionals have the right tools and experience, but they can also address any unexpected issues, such as structural damage, that may arise during the process.
In conclusion, while pebbledash was once the go-to exterior finish for London homes, changing tastes and design trends have seen many homeowners looking to replace it. Whether you choose a DIY approach or enlist professional services, it’s essential to understand the process and potential challenges involved. Remember, every renovation task is an investment towards creating a home that truly reflects your style and preferences. Happy renovating!